how do you do that?
You have to pack your sand! If your sand is not packed you can't carve it (although my good friend Suzanne Altamare would beg to differ) and if your sand is not wet, it will not pack. Obviously the two things you need are sand and water, so find some sand, then locate a source of water nearby, be it the beach, a spigot, or a fire hydrant. Grab a shovel, or if you’re really feeling it, use you hands, and you’re ready to go. Let’s pack sand.

compaction!
When it comes to packing sand, everyone has their favorite method, I prefer to use the one most effective for the task at hand. There are a variety of styles, but I’m going to break them down into three main types; form packing, hand stacking, and soft packing. I prefer to use all three on any given sculpture plus I’m sure there is a move or two that hasn’t yet found a name.
form packing

My favorite method is form packing; using some kind of rigid form to contain the sideways movement of the sand. This method was dreamed up by the granddaddies of sand Gerry Kirk and Todd Van der Plym and is basically a wooden version of concrete forms; a simple box of plywood with two by fours nailed at the top and bottom. Very complex shapes can be made with several shorter pieces and overlapping stretchers nailed together at the corners with duplex nails.

OG wooden forms with flexi additions
Plastic swimming pool liners or flexi-forms, introduced in the nineties, can also be used, leading to the classic "wedding cake" piles you may find at many contests. These forms are all but extinct as the materials used are no longer in manufacture. There are lighter, less durable alternatives available that pale in comparison to the pool liners but with care they can be incorporated,

old school pool liner, ratchet strapped and packed with a Jumping Jack
These forms are very portable and reusable, plus economical in time and storage. If you're on vacation, a trip to the store can yield a variety of form options, a plastic trash can with a large hole in the bottom cut out is a great starting point.
hand stacking

A very specialized method of sand sculpture is hand stacking; popularized by the Sons of the Beach on South Padre Island, it involves super saturated sand scooped out of buckets and systematically formed into thin, flat pancake layers, one on top of another until a desired shape is created. For very detailed instructions on hand stacking check out Sandy Feet’s site for yourself. This method is great for adding on structures, breaking up form shapes and compensating for over-zealous rough carving.
soft packing

On the last day of a project or contest you can always find sculptors on their hands and knees working madly with the remaining sand in their plot. Instead of packing an entire volume of material layer by layer, a large shape can be shoveled up, and only the outer surface is saturated and packed by hand, forming a shell around an otherwise soft pile. This is a great method for working very large areas of sand quickly, but it does not allow for the same structural integrity and level of detail as the first two methods. In the last few hours of a contest the whole piece can often be resolved with some soft packed elements.

With all three of these methods, there is one obvious similarity; water. Water acts as a binding agent, holding sand particles together, but also as a lubricant, allowing the sand particles to slide into orientation with each other and driving out air. The amount of water you will need depends on both the method you use to pack your sand, and the type of sand itself. Beach sand requires vast amounts of water in order to get a good solid pack, and for glacial and river sand a little water combined with brute force will do the job.

the technique
To form pack a pile on the beach you need to shovel and pack a base at least six inches in height and level it out. Place your bottom form on this base and shovel approximately five inches of sand into it, level it out and add water. I generally try to add enough water so there’s a couple inches on the surface. Use your shovel in a rapid up and down motion to mix the water into the sand layer (in subsequent layers you will be able to feel the packed layer beneath as you mix). This also will inform you of any areas of the layer that may need more water. Add more water to the mixed sand until there are a couple inches of water remaining on the top. Again using your shovel, agitate the layer, poking in where you see a stream of bubbles rising up, you will feel the sand compacting from the bottom up. If all the water drains into the sand, stop what you are doing and add more water. As you are poking and prodding the sand in this manner, it never hurts to get up in the form and stomp around in the slush, this will speed up the process and add some extra force that gravity alone cannot provide. Once you are satisfied that the layer is solid, jump down and start shoveling again, but remember, no more than five inches of sand, and use LOTS of water.

For projects with a sharp, fine glacial sand, a slightly different process is necessary. Instead of adding tons of water, add just enough water that once you mix the first application in, the sand particles appear moist and begin to clump together. Obviously the sand will not pack itself in this state, so brute force becomes necessary. Use your heels to compress the moist sand into the form, starting around the inside perimeter and spiraling into the center, then grab your tamper and in the same pattern, start pounding. An eight inch tamper is perfect for this, its relatively small footprint will compact the sand down about five or six inches deep, whereas a ten inch tamper will only compact two or three inches. Overlap your spirals as you work your way into the center, and remember to go back and re-tamp any ares that still feel soft. Again, once you're satisfied (and at this point exhausted) grab your shovel and add more sand.

When you have filled and tamped an entire form it's time to put another on top and start the process all over again. Build as many forms as you need to fulfill the overall volume of your piece.

Ok, so you have a giant (or not) pile of sand packed up in its forms, what’s next? Make it into something, I find this to be the stage where the real magic happens, the sculpture begins to take shape and it’s my job to see it through.

sculpting
When all the sand is packed the forms may need to rest for a bit, and so might you. Two or three forms can be removed to expose the solid blocks of sand. It’s important to work at once as much of the sculpture that you can, but some lower forms will need to stay on to act as a scaffold, allowing you to climb up and down as you progress.
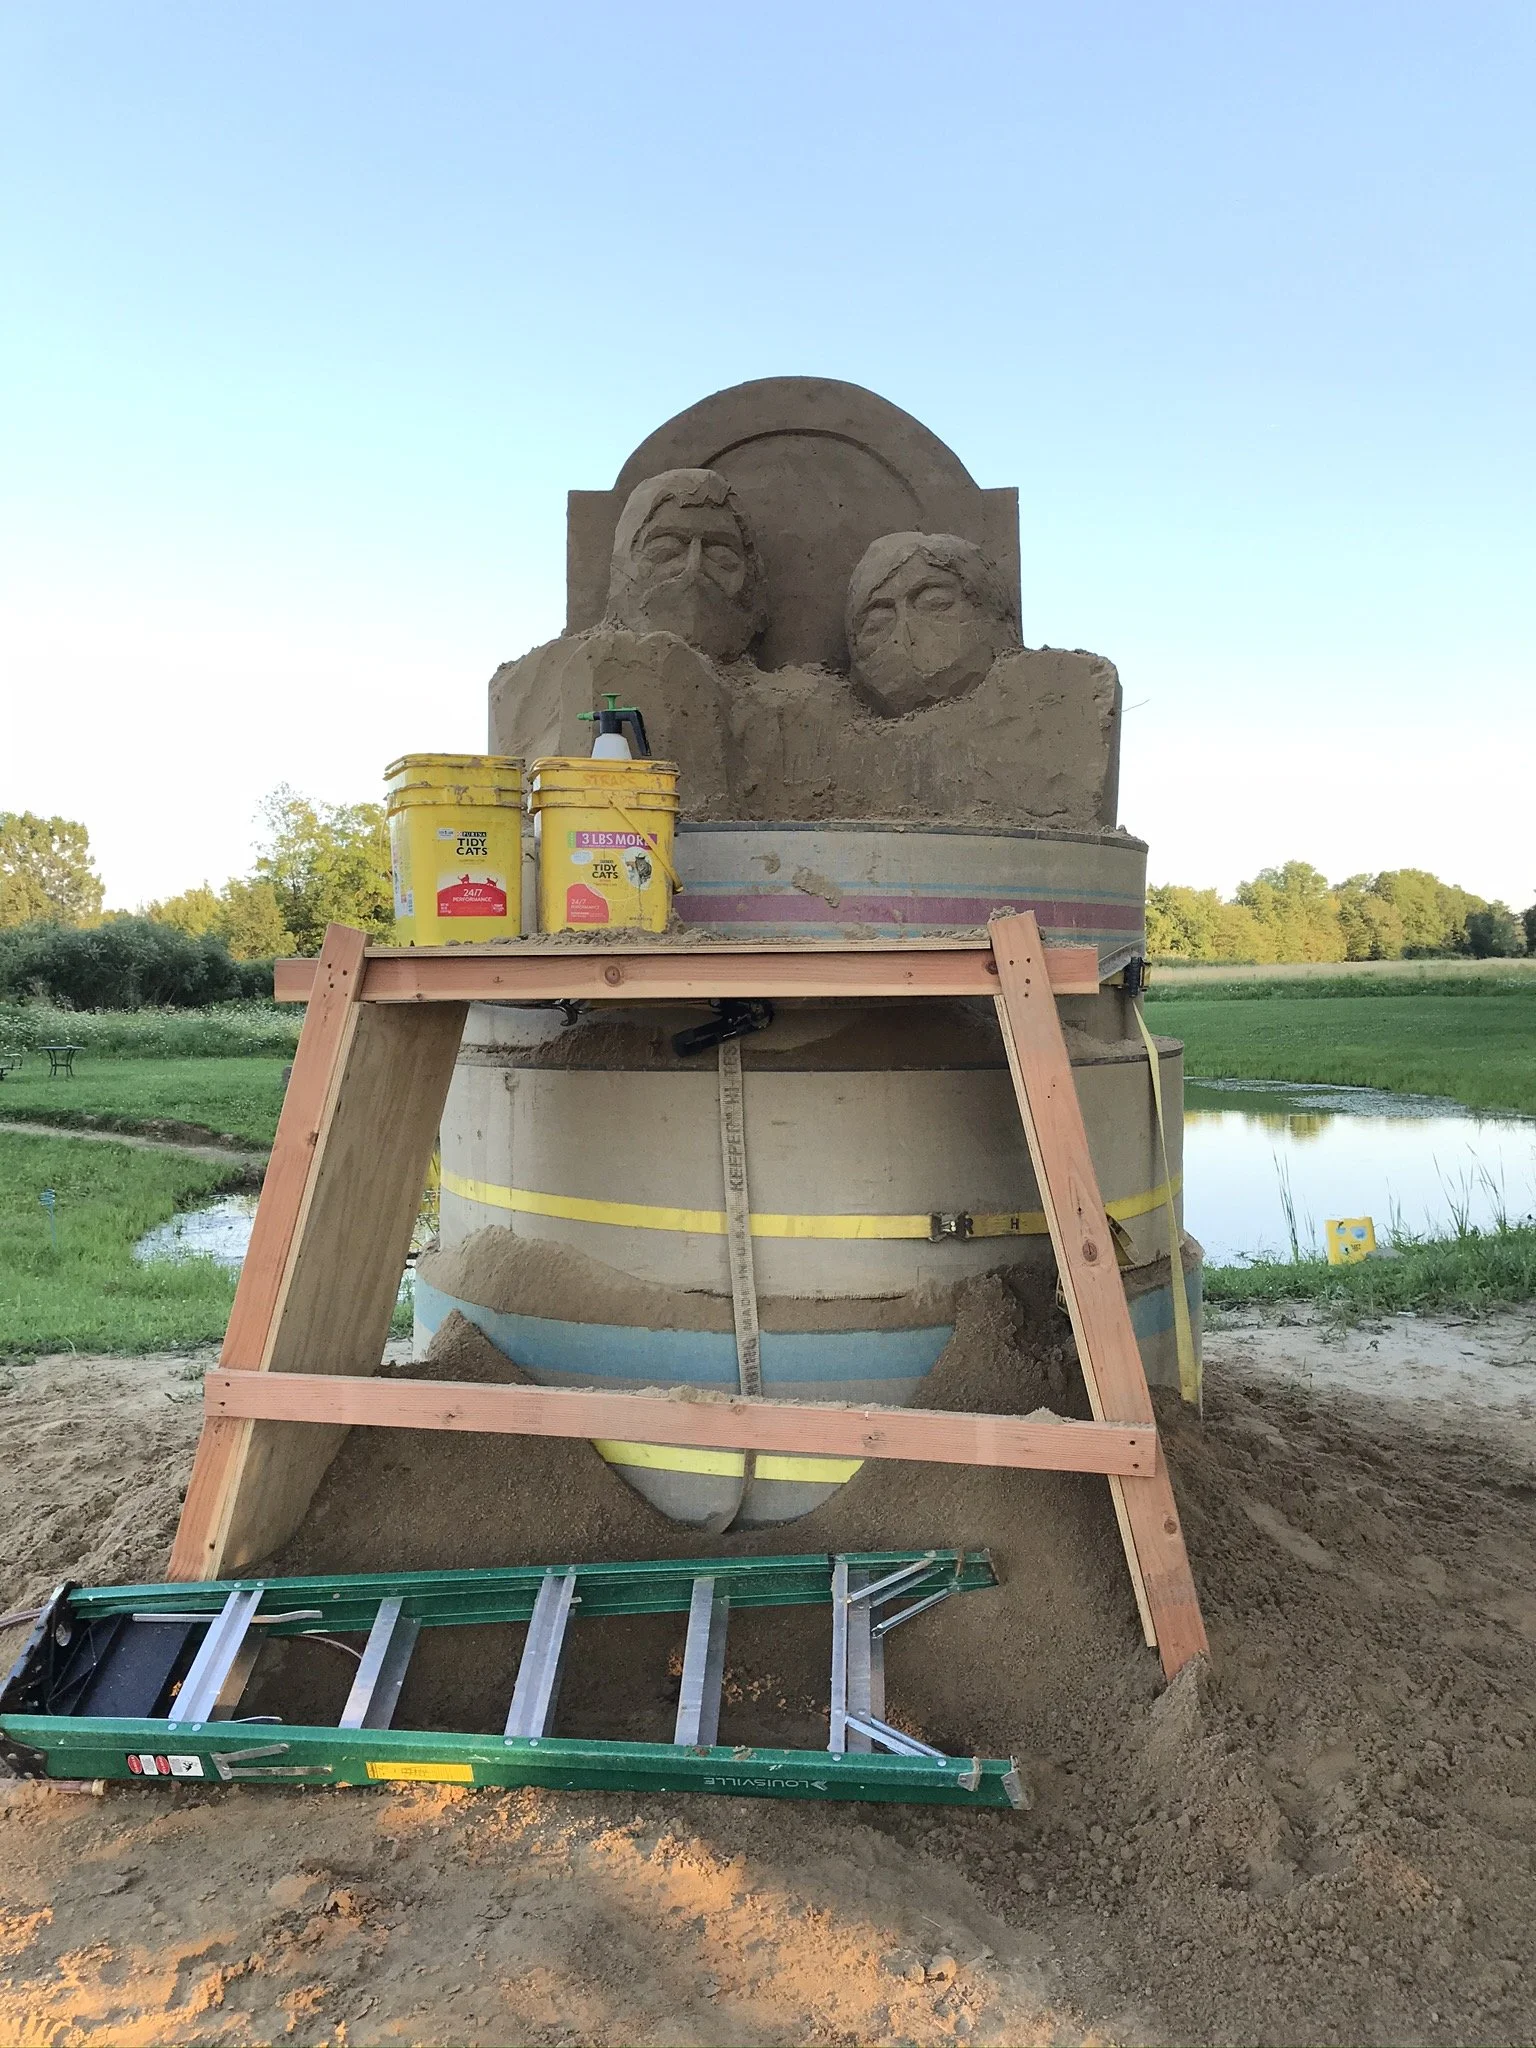
sometimes a work platform is necessary
In an effort to educate I will lay out the basic tool set that I was taught and still use to this day. You may have to visit a craft store for one or two items but the rest can be obtained at your local family owned hardware store.
2 shovels; spade and trenching (plus a flat shovel if you are working on a hard surface)

Marhalltown 52 trowel

palette knife

plumbing supply tube

hands

Not a deal breaker but tools I like to have in addition:
fluffy brush

a large scoop of any sort

pool float

Some kind of forms.
I put this in the optional list because it really isn’t necessary. Much can be done with a good volcano pack, thus rendering forms non-essential.
That’s it, not much to carry around or loose, easy to replace, and cheap to buy. All that’s left is for you to go out there and use those tools, and that knowledge and make something yourself.

bonus video
Everything we’ve been over culminates here. While you watch this video, look out for all the techniques I’ve just described.